WordPress migration to new server is a tricky job!
Are you considering a WordPress migration to new server? Switching to another web hosting provider may offer the speed and reliability that your website needs. This guide will walk you through the steps of migrating your WordPress site to a new server.
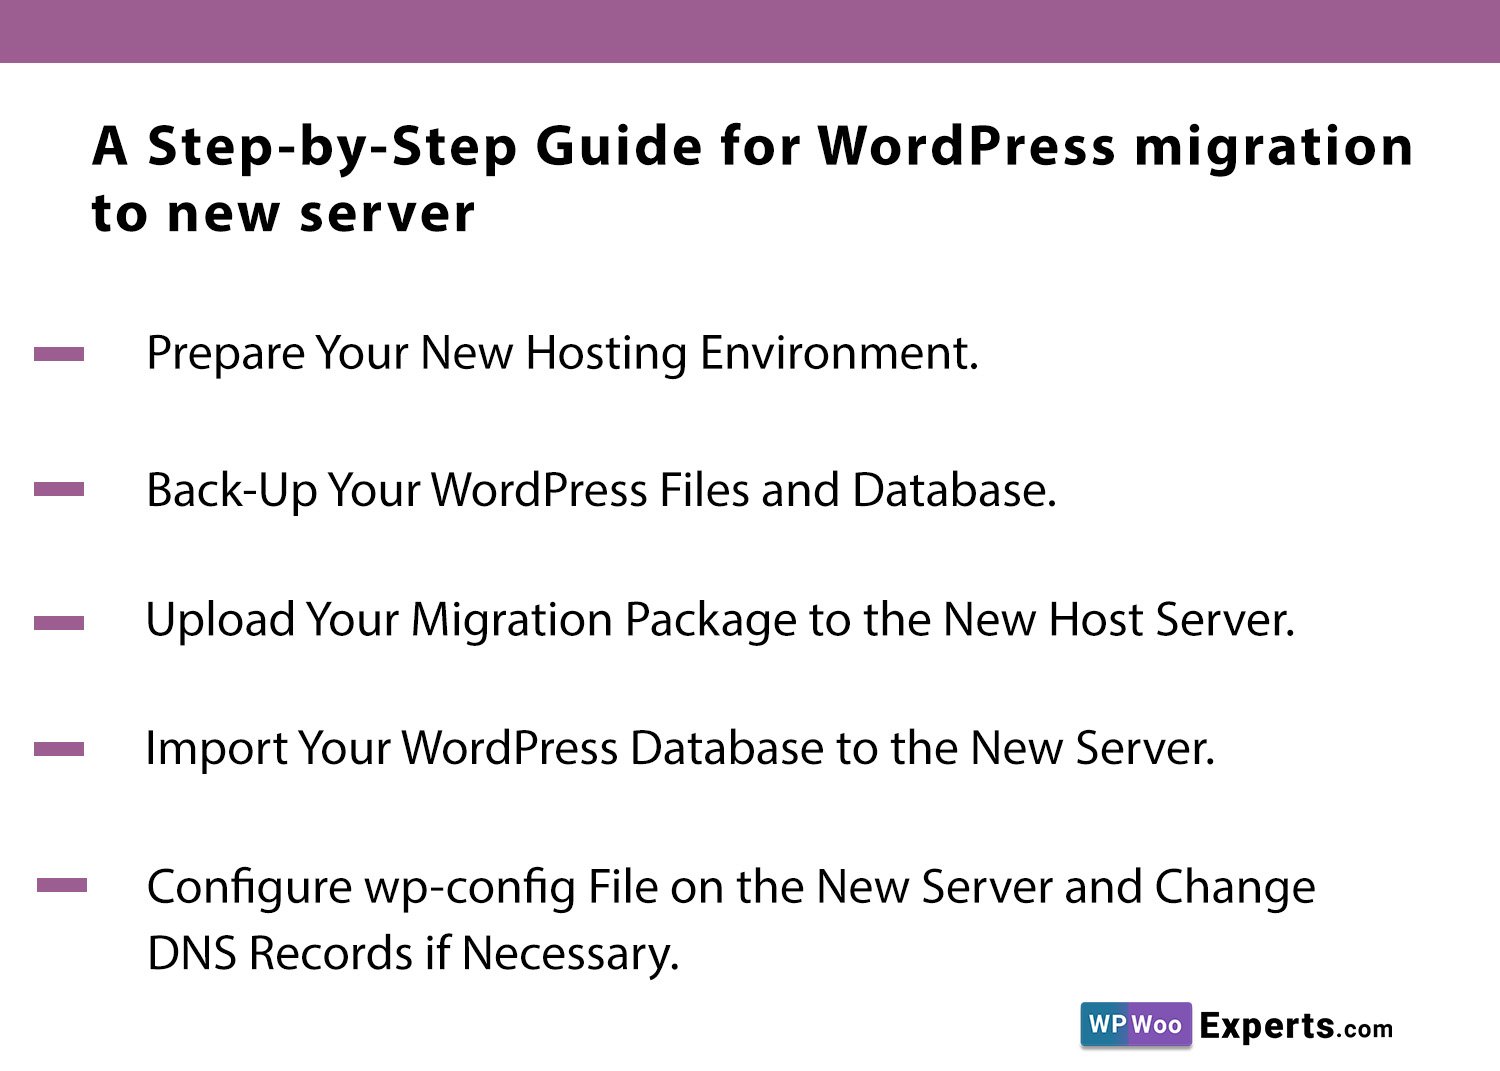
Prepare Your New Hosting Environment.
Before migrating your WordPress site, you will need to prepare the hosting environment of your new server. This includes setting up and configuring the new server as well as getting familiar with the web hosting provider’s control panel. Make sure to properly configure settings such as mail server, file permissions, and time zones. You will also want to set up a database for your WordPress files.
Back-Up Your WordPress Files and Database.
The first step when migrating your WordPress site to a new server is to back up all of your files and database. This will give you a set of backup files that you can use if something goes wrong during the migration process. It’s important to also include any plugins, themes, and databases as part of this backup process. Once backed up, transfer the files to your new server with an FTP client or other file transfer program.
Upload Your Migration Package to the New Host Server.
The next step is to upload your migration package to the new host server. This includes all of the WordPress content and files, including plugins, themes, and databases. You can do this using an FTP client like FileZilla or another file transfer program. Once you’ve uploaded the files, you need to configure the database connection so that WordPress will connect with your new server once it’s installed.
Import Your WordPress Database to the New Server.
Now that you’ve transferred the contents of your website to the new server, it’s time to import your existing WordPress database. This will let WordPress access all of the posts, pages, comments, and other content in your old database on the new server. To do this, use a program like phpMyAdmin to create a database and then import the files from your previous site into this new one. Once both processes are complete, you’ll be able to access all of your old content on the new server.
Configure wp-config File on the New Server and Change DNS Records if Necessary.
Now you need to configure the new server’s wp-config file. This is the primary configuration file for all WordPress websites, and it controls nearly every aspect of operation such as database live connection information, debug options, and much more. If your current DNS records are pointing at the old server, you may also need to change them so they’ll point to your new server instead. Once this step has been completed, you can start using your new website even before DNS propagation is complete.
You Might Also Like
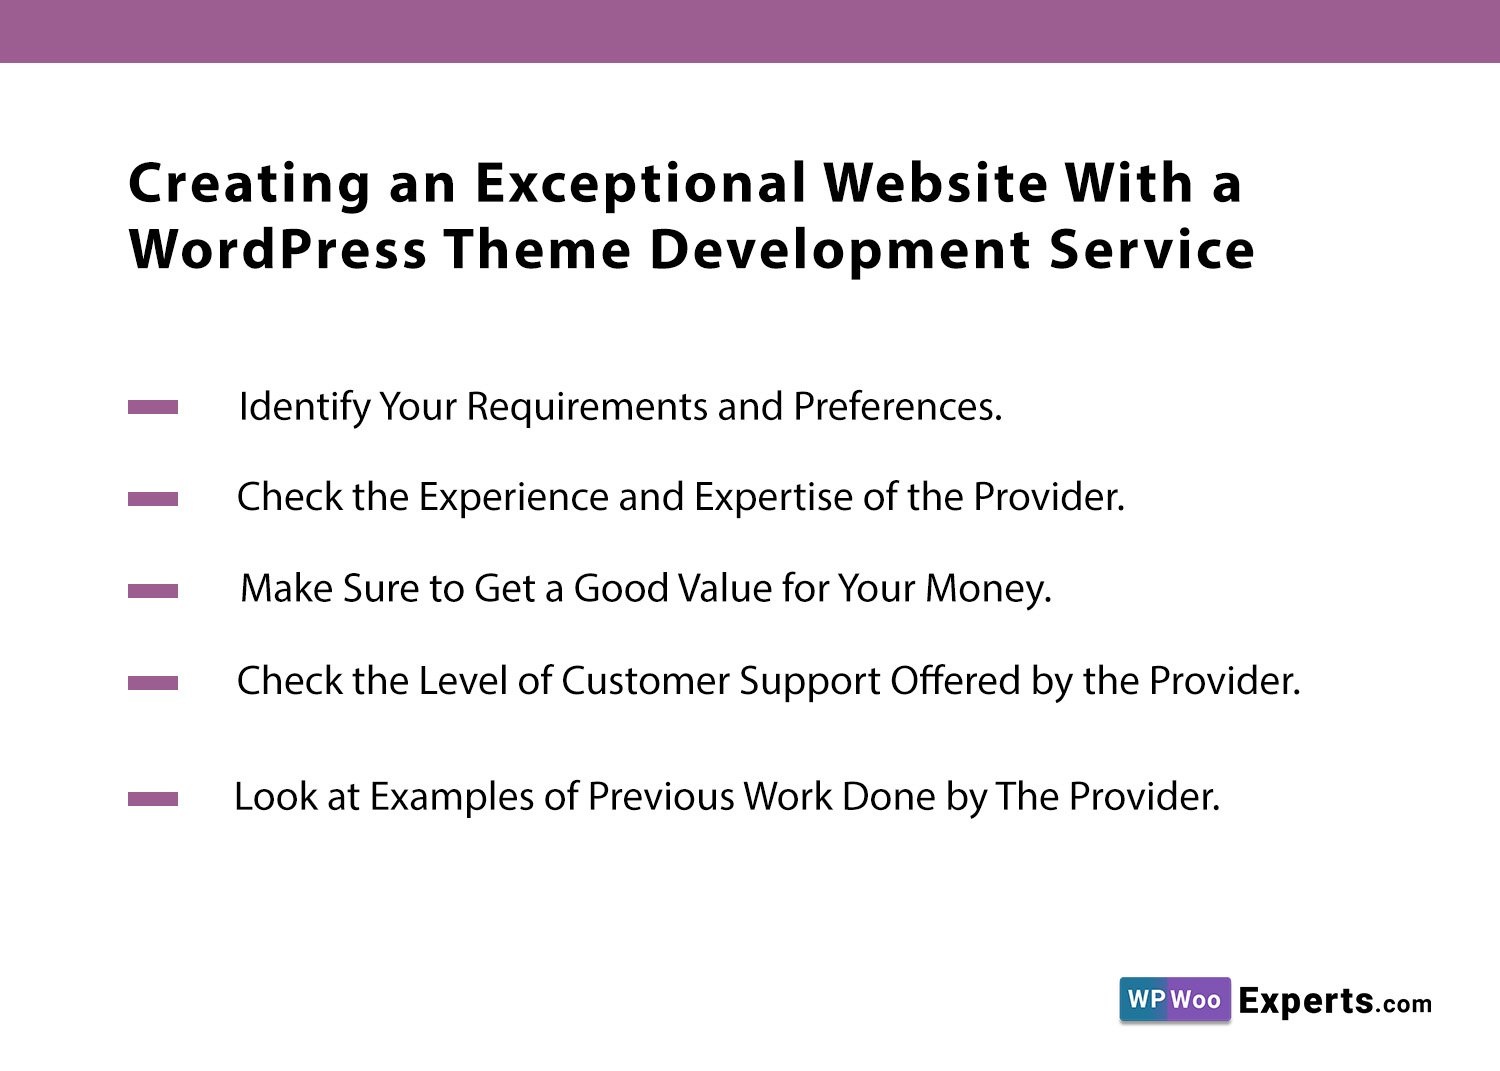
Creating an Exceptional Website With a WordPress Theme Development Service
Improve your web presence and build the perfect website with the help of a trustworthy WordPress theme development service. Get all the details here!
A Step-by-Step Guide for WordPress migration to new server
Tired of dealing with slow server speeds? Take matters into your own hands by following this detailed guide on how to do WordPress migration to new server.